 We use paper in our classrooms, a lot of paper. There are papers for grading, forms that need to be filled out, flyers that need passing out, notes, worksheets and the list goes on. All of it on paper. They fill up spaces and our classrooms can become cluttered. However, managing paper doesn’t have to be so overwhelming or complicated. With these easy steps you too can tame the paper beast.
The key is a good system for all things paper. In the last 7 years of teaching I developed a system (which I will share with you) that has helped me keep my classroom organized and clutter-free.
Lesson Plans & Worksheets
I organize all my lesson plans, books and accompanying worksheets in daily bins. This makes it easy for me to find everything I need when I am teaching. It also comes in extremely handy when I have a sub covering my class, as they can find all the materials they need in the necessary bin.
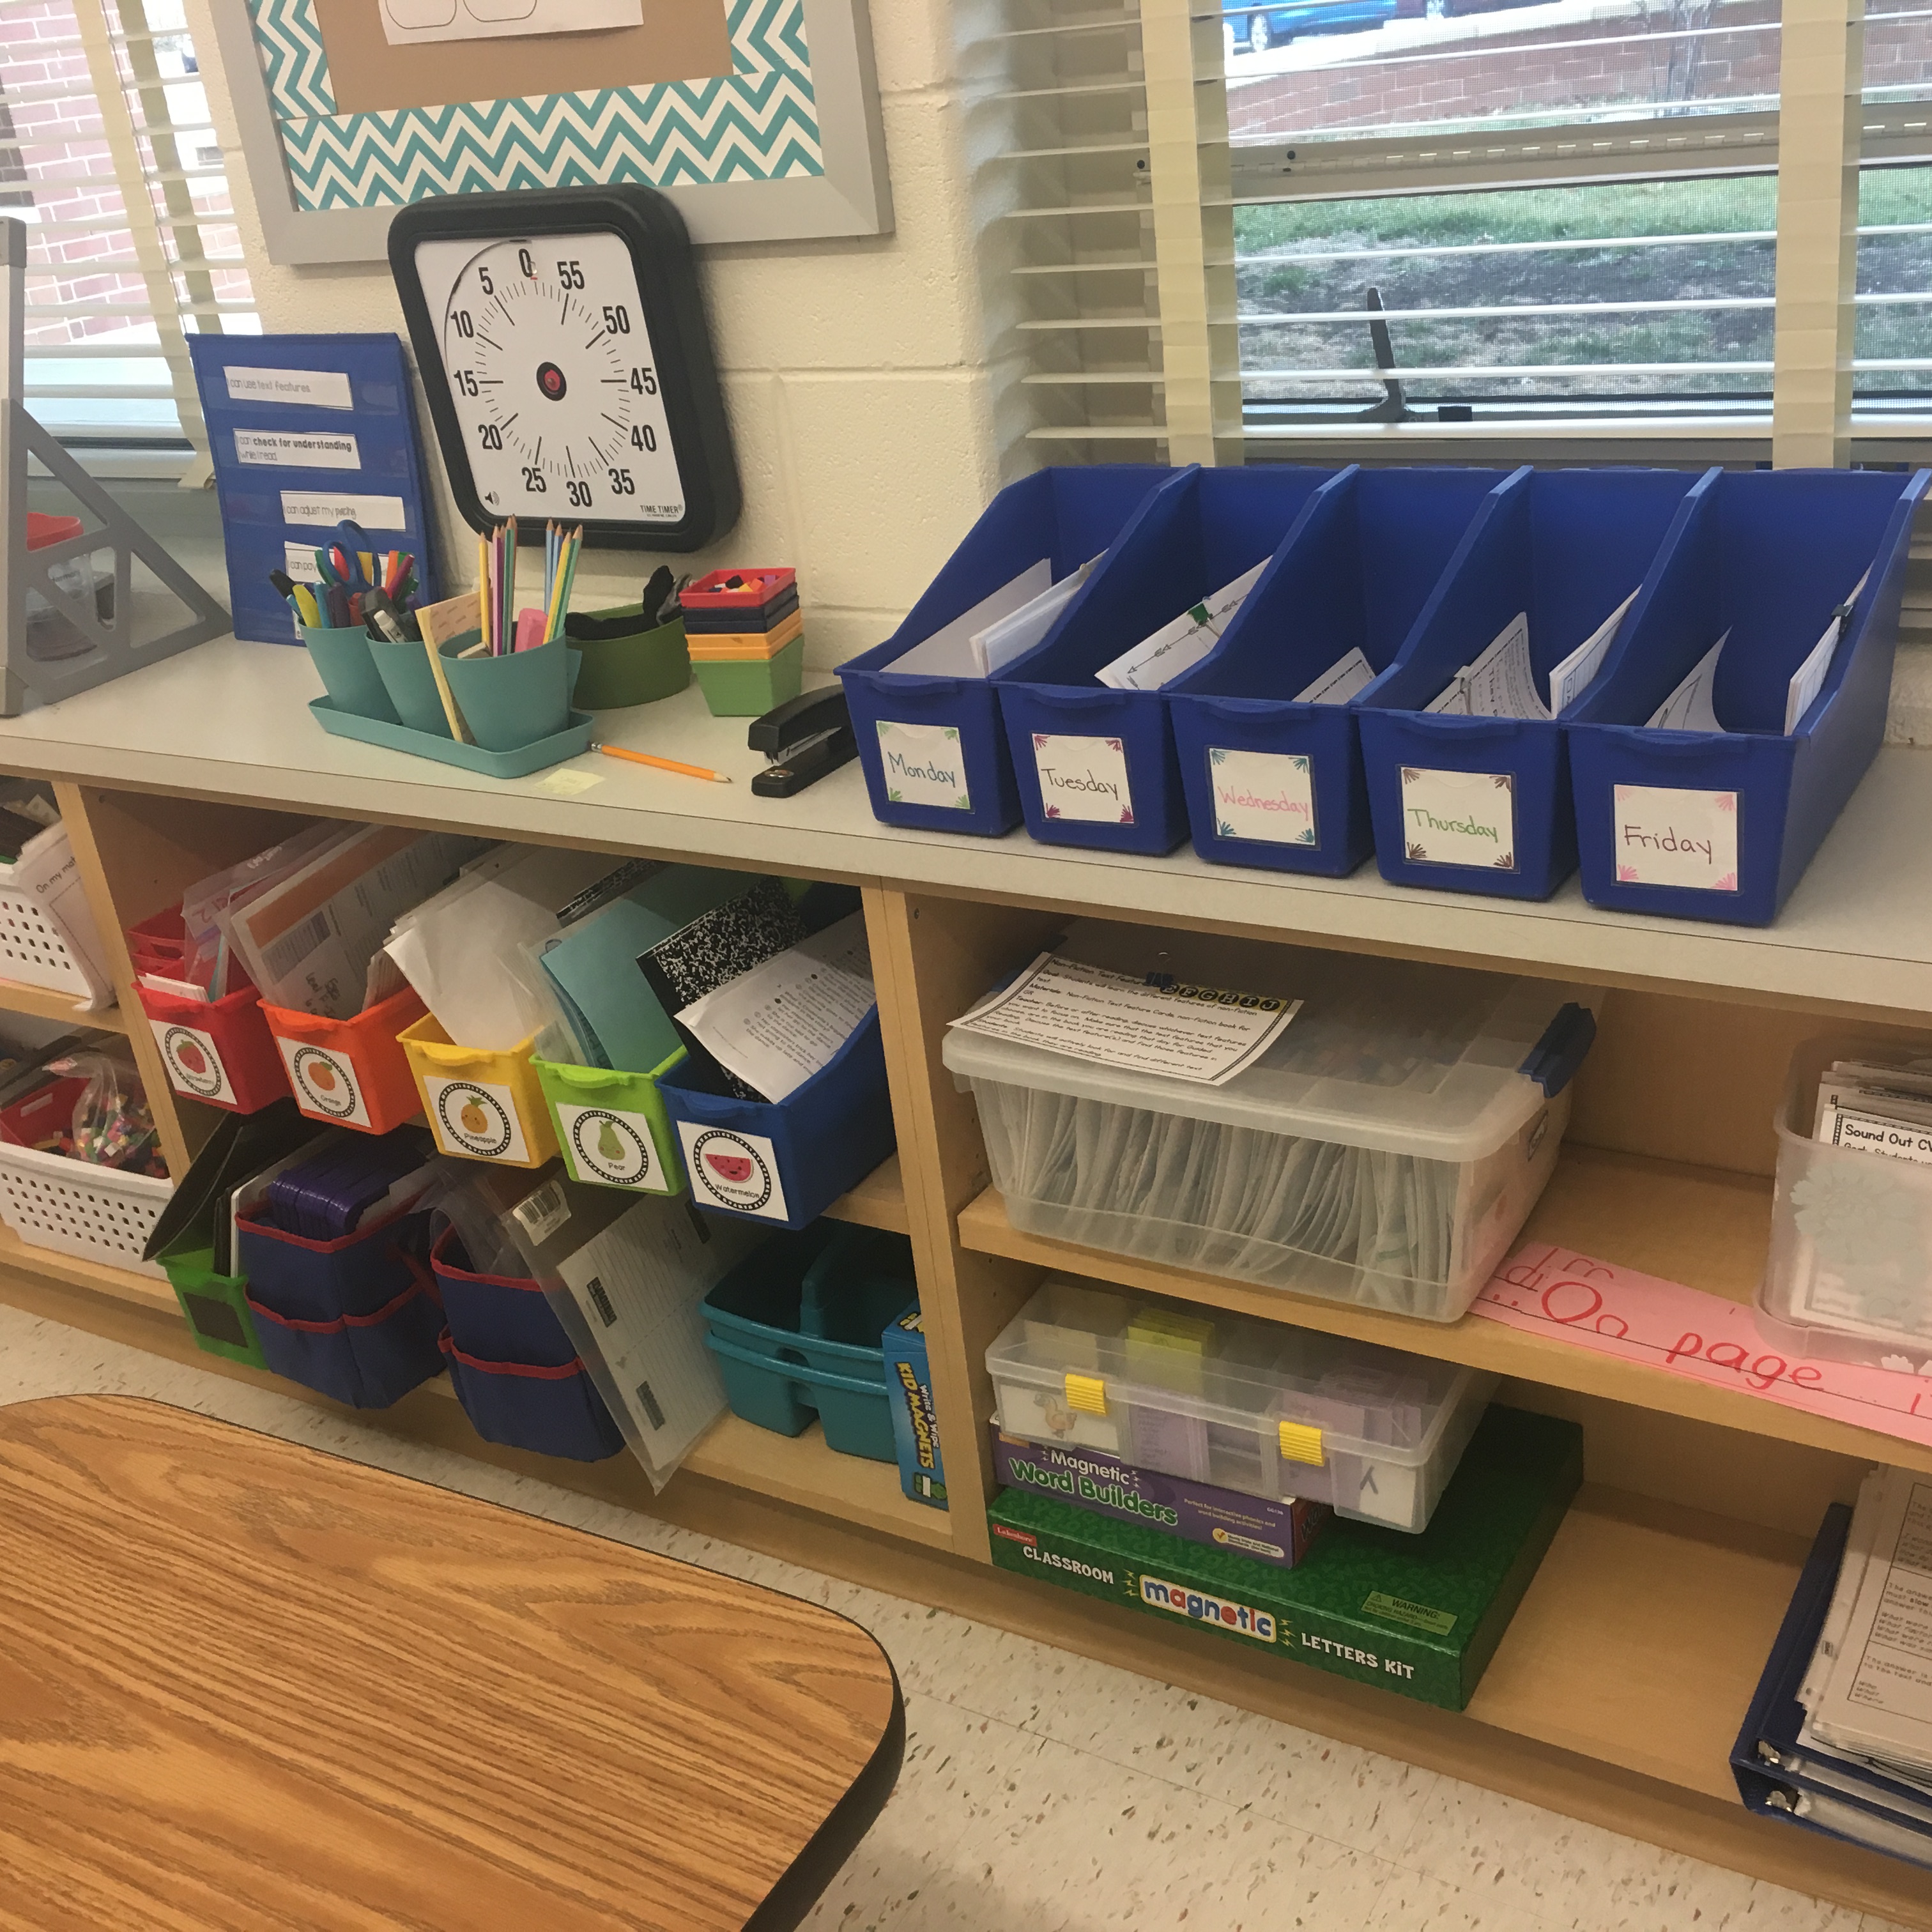
I also use an extra set of colorful bins which I use to keep all the materials I need for guided reading: books, journals, worksheets, small group lesson plans, sight word card rings, anecdotal notes.
Student Work
In my class, all students are assigned a number. Students write their names and number next to their name on every paper I give them. This cuts down on time when it’s time to file their work, simply find the student number and drop it in. I file students’ work in hanging folders. I call these “student portfolios”.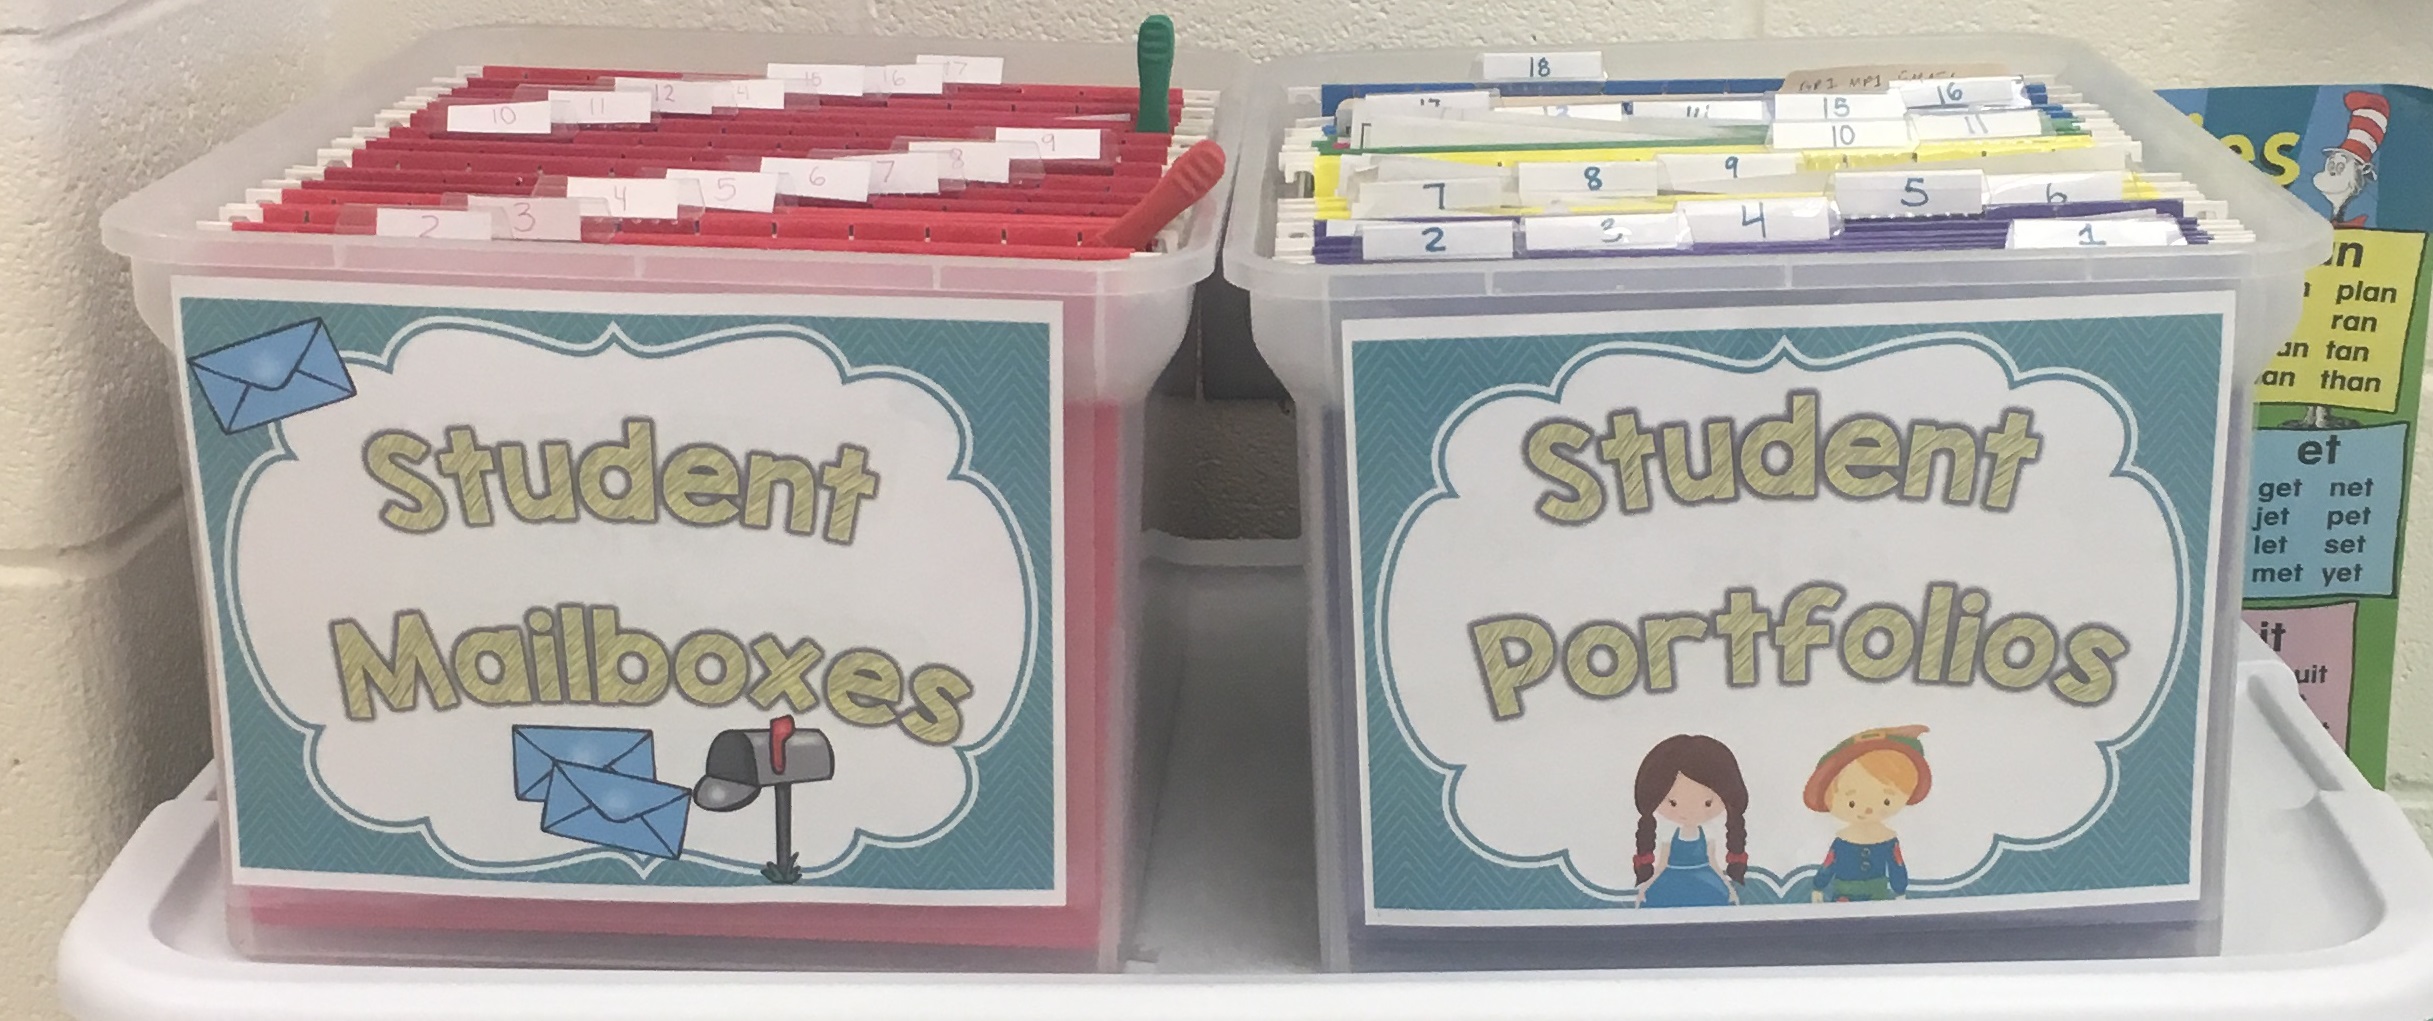
At the beginning of the school year I do most of the filing, but by October I turn this job over to a responsible student or two. They file the papers while others finish up their breakfast. I will mention that I don’t keep and file all of their work. I mostly keep formative assessment and End-of-Unit writing projects which helps cut the clutter. This also makes it super easy to gather sample work for meetings as needed. At the end of the year, I send these portfolios home to show parents their children’s growth.
I also keep a set of student mailboxes. I use these to place any flyers, letters, forms, or any other important home-school communication. On Fridays, I grab all the papers from each file and place them in my students’ take-home folders. Parents expect these papers on Friday, this helps improve communication. I usually do this while students are packing up.
Paper Organizer
Finally my paper organizer handles the rest of the chaos. At the top I have my “inbox“. Any paper that does not fit into any of the other category goes here. At the end of the week, I review everything that is in my inbox and decide what to keep and what to toss.
Next is my send home space. Any paper that needs to be sent home goes in here until I file it in the student mailbox or if it is urgent and needs to go home that same day (i.e. nurse notes or report cards).
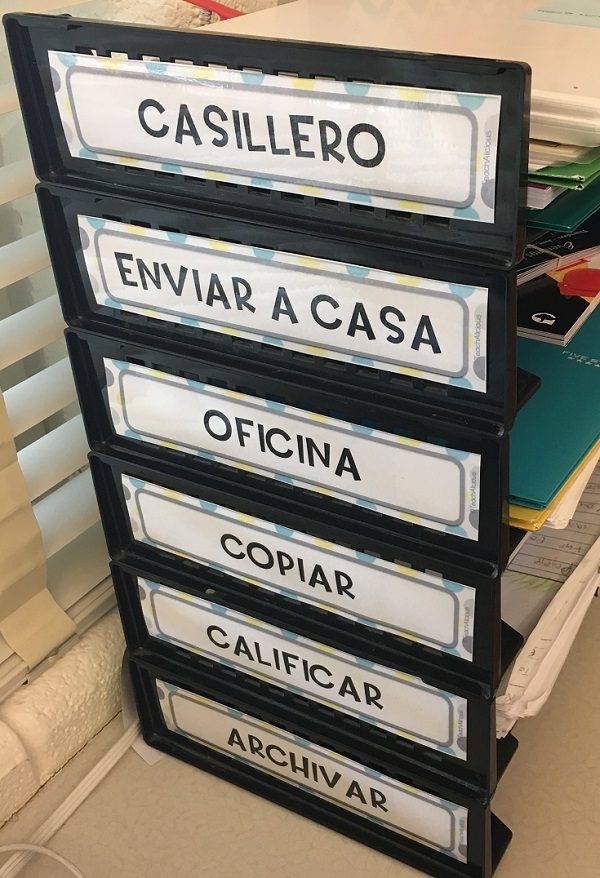
Next is the office space. I keep a folder in this space. Anything that needs to go to the office (attendance, forms, notes) go in this handy folder and then it is sent up to the main office as needed.
The last 3 spaces are for copying, grading and filing. I place any resource that needs to be copied here. I usually run copies once a week because I have selected the worksheets in advanced and I know where they are. After students complete their work, I collect all the papers and place them in the grading bin. Once a week, I grab this pile, and grade them. Then they are placed in the filing bin later to be filed in the students’ individual portfolios.
Controlling the paper beast early on in the school year has helped me feel less overwhelmed, more organized, and more effective with my time as the year goes on.
You can snatch up these paper organizer labels (in English & Spanish) here.

Leave a Reply